You may have caught
my first round of new homeowner confessions when I was freaking out. That was exactly two weeks ago after just getting the keys to my new home and being able access it for the first time. A TON has happened since then, and I've had a LOT of help.
I confess... The previous homeowners left the place in quite a state. That's one of the reasons I was freaking out when I first got the keys and was able to get in there. There were giant holes in the walls, the place smelled like sour meat, they didn't leave the portable A/C they were required to leave, the door was hanging wide open (they didn't lock it at all), and there was a giant pile of crap they'd left me in the back yard. They'd also almost completely killed the grass in the back yard between the time I looked at the home and the time I gained access. I pretty much hate them, and each project has me cursing their names. What jerks.
I confess... I've grown too weary of chasing down my realtor to see about the A/C unit. I'm just giving up I think... Though part of me feels like I should call the cops or something, since they were required to leave it and the fact that they took it should count as theft. I'll admit that I don't really need it now (I've forked over the money to buy an A/C for myself because it's hot and I couldn't wait!) but that I'd like to get them simply out of principle.
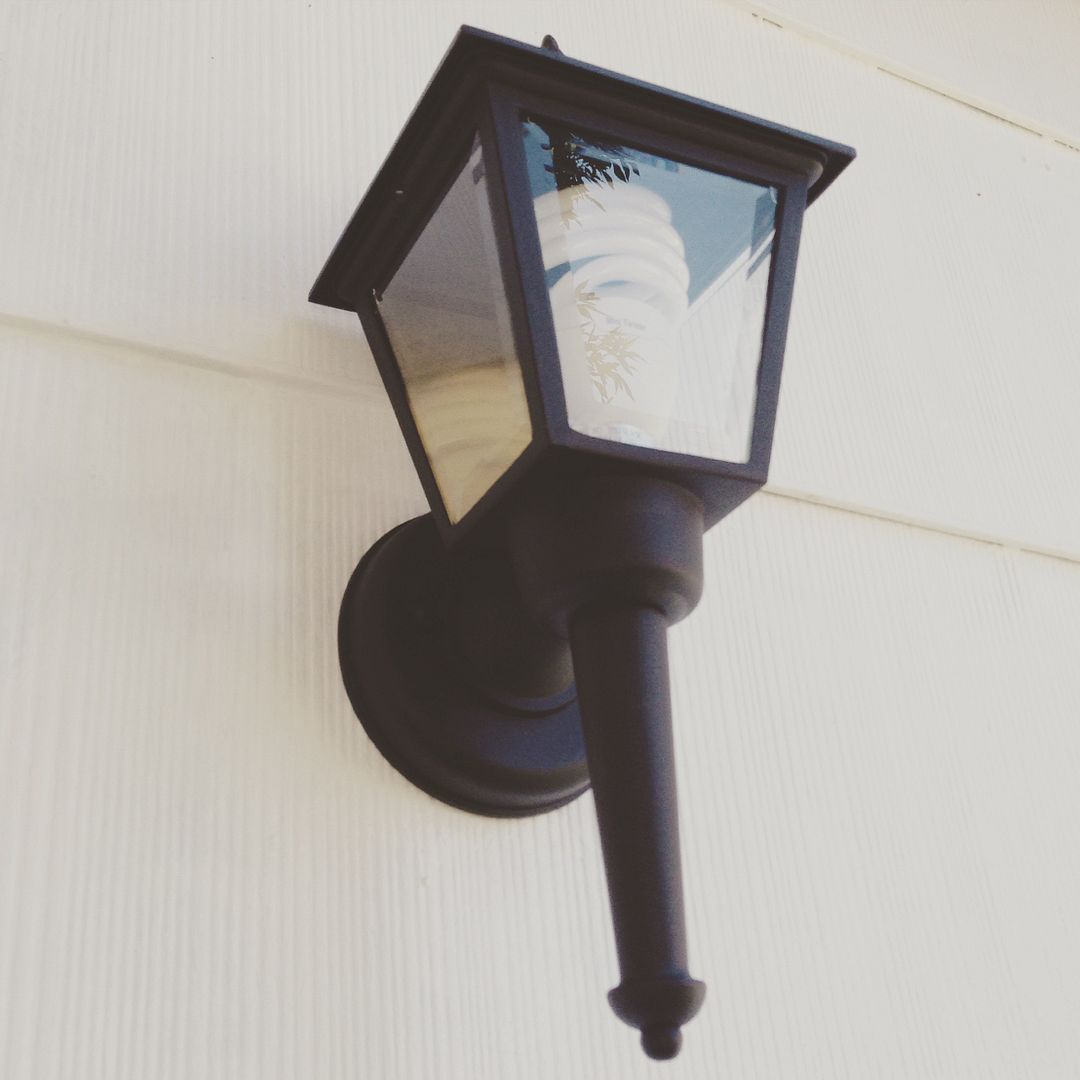
I confess... One of the first things I did at my new place was start thinking about all the updates I had to do, and one of the first ones I did was porch lights. They had an old ugly motion detector light on the front, and a hole with wires hanging out the back...
These little lights I got at Home Depot for about $16 each, so I felt like it wasn't a terrible investment-and they add a lot of character. So the Sunday after I gained access to the house my dad stopped by on his way out of town (for work) and helped me install a couple new lights, and also my new A/C. He also helped me fix the front door so it would lock properly. My dad is so great.
I confess... He's working six-twelves right now, but he said as soon as he's done with this job he'll come down and help me install some new flooring. They self-installed some laminate in the kitchen and did a terrible job-there are giant gaps in between boards, the boards aren't secured so they slide around, and they never water-proofed or protected the flooring against water damage.
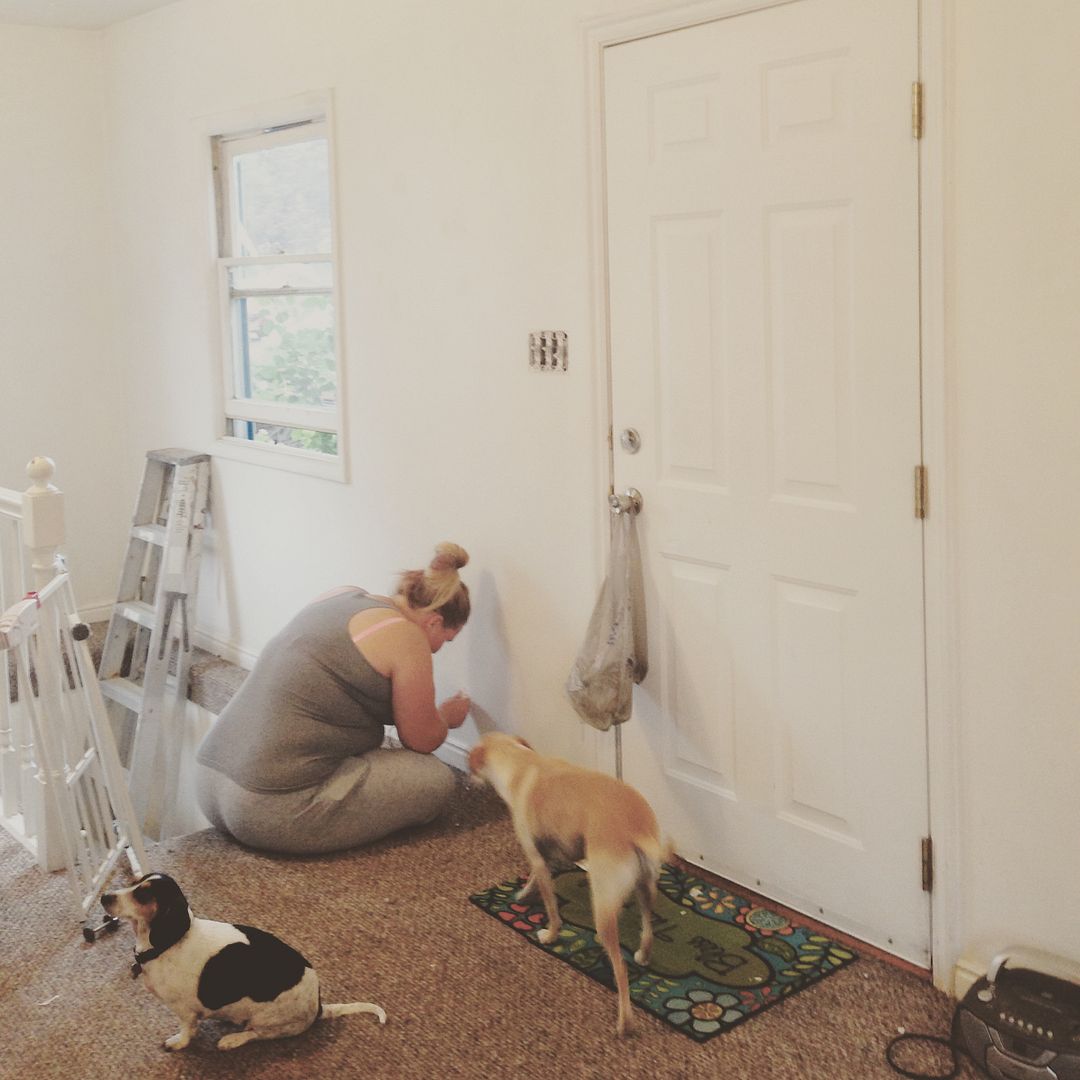
I confess... My mom and my sister have been amazing. Not only did they rush down when I was freaking out to make me feel better, but they then came down again the following Sunday night to help me start making the place liveable. They slept on the floor of my new house with me for two nights while we painted, primed, scraped, patched, and fixed the place up. Plus we had puppy helpers. So cute!
I confess... I didn't get enough before shots, but I did get a few. I wish I'd gotten more and taken them with my good camera so you could see just how bad some things were. These people didn't really take care of the place at all. It looks like they tried to do some fixes on their own, but every fix they did was done really poorly.
I confess... It's amazing how much a coat of paint can change a room. This house is tiny with a cottage/bungalow feel, but I don't know how they survived with ugly stark white walls over their ten years there. It had no character. Maybe they were just cheap-I had no idea how much paint cost-it was so expensive! Above is a few shots of the living room.
I confess... I went with
Sherwin Williams Sea Salt for the walls on the living room, and the two-tone look with the molding in
Sherwin Williams Snowbound. I'm in love with it. It makes the room feel ENTIRELY different.
I confess... It was SO difficult to paint over where the stairs are. In the middle of painting we called my grandfather to ask if he had a tall ladder we could borrow and he rushed over with one so we could reach some awkward spaces. It still didn't help with some of the spaces, so he built some makeshift scaffolding over the space so we could stand on it or put things on it.
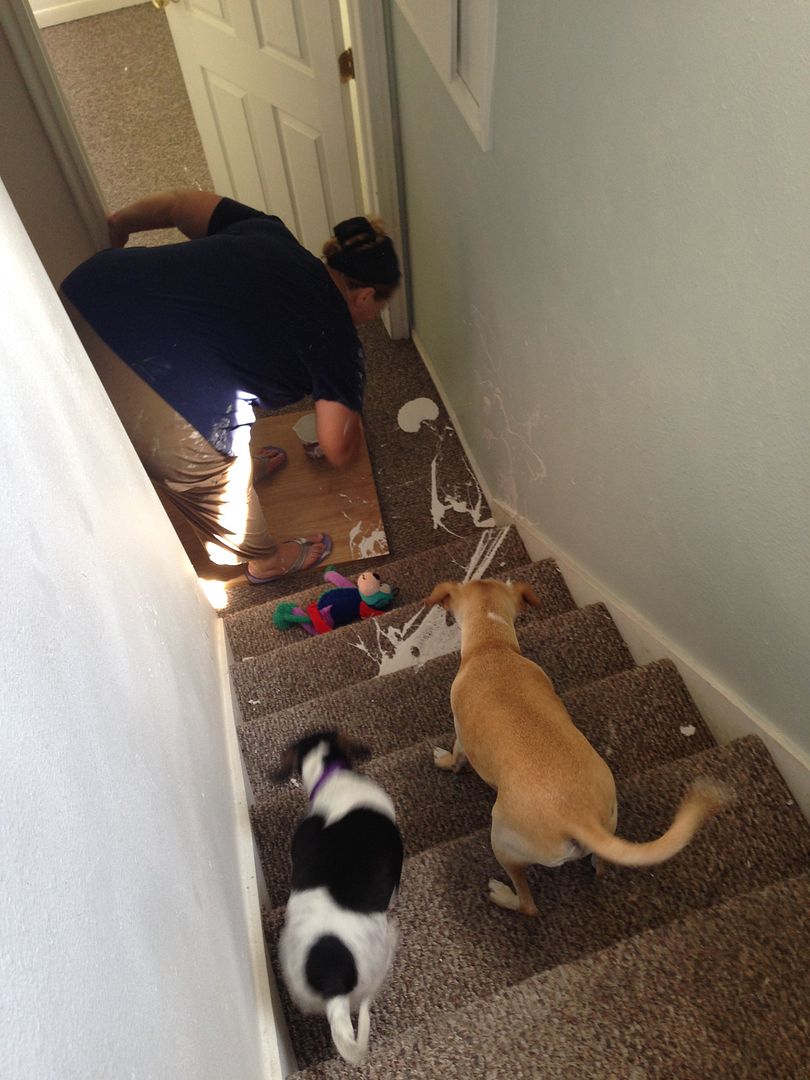
I confess... The scaffolding had about a foot on one side where it rested, but only about two inches on the other... When that shifts and you have a giant bucket of paint sitting on the wood-bad things happen. My sister accidentally dropped an entire bowl of paint down my stairs!
I confess... The painting of my stair carpet resulted in a lot of tears. All three of us were going on very little sleep, so my sister was bawling because she felt bad and I was bawling because I couldn't afford to replace the carpet that was now painted white. Luckily my mom kept a cool head and after an hour of scrubbing with hot soapy water and running the carpet cleaner over it, we managed to get most of it out.
I confess... For the kitchen I chose Behr Planetary Silver. I don't know what inspired me to go with a grey, but I sure love the two-toned look with the silver-grey and the Snowbound trim. I still have a lot to paint in the kitchen. I also bought some pretty grey and white chevron style non-slip cupboard liners that I'll be able to put in when I finish all the painting.
I confess... The kitchen cabinets are kind of weird. Over the sink there are the original built-in solid wood cabinets that probably came with the house in the 1950s, but somewhere along the line they've replaced the cabinets along the wall and under the sink with a cheaper version. The replaced cabinets all have newer hinges on them, but the original ones had the original hinges with about 60 years worth of paint over it... It took two whole days to get the hinges off so we could paint. They'd been painted over so many times that I had to buy a paint stripper, apply it, let it sit 15 minutes before scraping whatever I could get off, and then repeat-for two days. I did finally get them off, and am currently in the process of painting them and getting new hardware for them.
I confess... In the kitchen there was a random hole in the ceiling that the previous owners had literally stuffed with plastic grocery sacks. Just, what? What is wrong with these people? I pulled the grocery sacks out and a bunch of heat rushed down. We imagine that they must have used the hole to put in insulation in part of the attic space, but then been way too lazy to fix it-they just tried to plug it up so that the heat stayed in. Above you'll see how they had it on the left, and on the right how I started fixing it.
I confess... I'm learning how to patch walls like a pro. We bought mesh panels and mesh tape, and a giant tub of Joint Compound and I have patched so many holes and cracks in the walls/ceilings that it's crazy. But it makes such a difference!
I confess... One thing I was aware of from the moment I put in the offer was the jagged hole between the wall and door frame in the bedroom. This door separates the bedroom from the downstairs bathroom (worst bathroom ever) and it appears as if they'd cut their own door frame. It was all jagged and wavy, and they'd just left the whole there without doing anything to patch it. So my momma helped me nail in a new board that was missing from the frame, and we broke out the joint compound and we started patching the door up. It's dried kind of cracking, so I think I need to sand it down and put another layer on it.

I confess... The bedroom walls were bad too. There was paint peeling everywhere (it appears they'd painted directly over drywall without primer or anything) and the molding along the one wall was damaged. I pried up the molding and voila, found a small piece of mold. We cut the moldy section of the wall out and tossed the old molding there. We also spent hours hand scraping the peeling paint off the walls.
I confess... My mom and sister seriously are the best family anyone could ask for. They both had Monday off, and even though I had to work they went to my house and painted my bedroom! I came home to an almost complete painting job that has saved me SO much time!
I confess... I originally bought
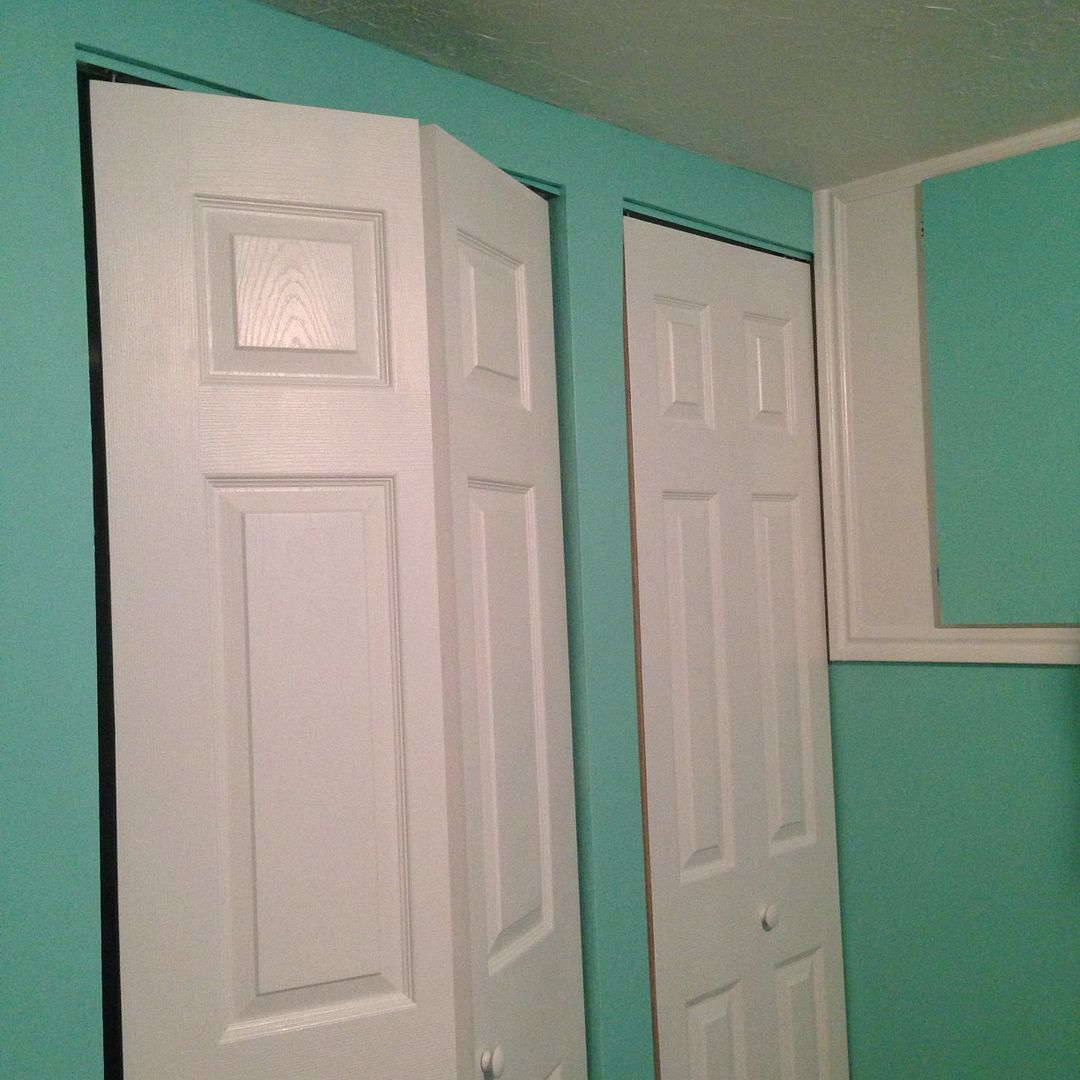
Sherwin Williams Refresh to use to update the accents in the kitchen (which are already a similar-but darker-color) and ended up hating it in the Kitchen. So I was glad that when it was done in the bedroom I LOVED it there. I'd hate to waste paint or be stuck with a color I hate. It looked great with the Snowbound trim/accents as well.
I confess... In an effort to make me hate my downstairs bathroom less, (it looked
like this originally) my mom and sister helped me paint it mostly white. It's going to need an entire overhall at some point... It's the most bizarre thing. The main drain is up in the wall, so they've installed a pump in the floor and have pipes and wires running everywhere. I think that it's because of all the pipes and wires and the pump that they built the weird platforms and fake walls to hide it... Except they didn't do a great job at that either-they made sliding cupboard doors that are uneven and terrible, and the platforms kind of slide around. They didn't even have the shower secured into the wall, it can move around... But making it white helps a little.
I confess... My baby sister is pretty much the smaller, blonder, more adorable version of me. Isn't she cute?
I confess... I am becoming extremely handy. I'm learning how to do so many things on my own, including patching walls and hooking things up. I'm also going to make an attempt to change my headlight on my car this weekend (I'm too house poor to take my car in lol) and I need to switch out a few electrical outlets that my dad explained how to do. I am woman, hear me roar.
I confess... I still have SO much more to do before the house is actually liveable... I mean I'm currently bunkered down in the one room of the house that's mostly done (the living room) with my couches, TV, boxes/bags piled everywhere, and my mattress on the floor. It's crazy! Also, about 90% of everything I own is locked in the garage currently-it's been crazy.
Here is my upcoming home improvement to-do list, at least those things I know of off the top of my head so far.
- Finish painting cupboards and around them.
- Hang cupboard doors.
- Place liner in cupboards.

- Finish patching the holes and painting the walls in the kitchen.
- Figure out the kitchen table situation-my table is too big for the kitchen. lol
- Re-caulk around the sink.
- Figure out if I want to keep the accent color in the kitchen.
- If yes, touch it up/repaint it.
- If no, figure out what color to paint it instead.

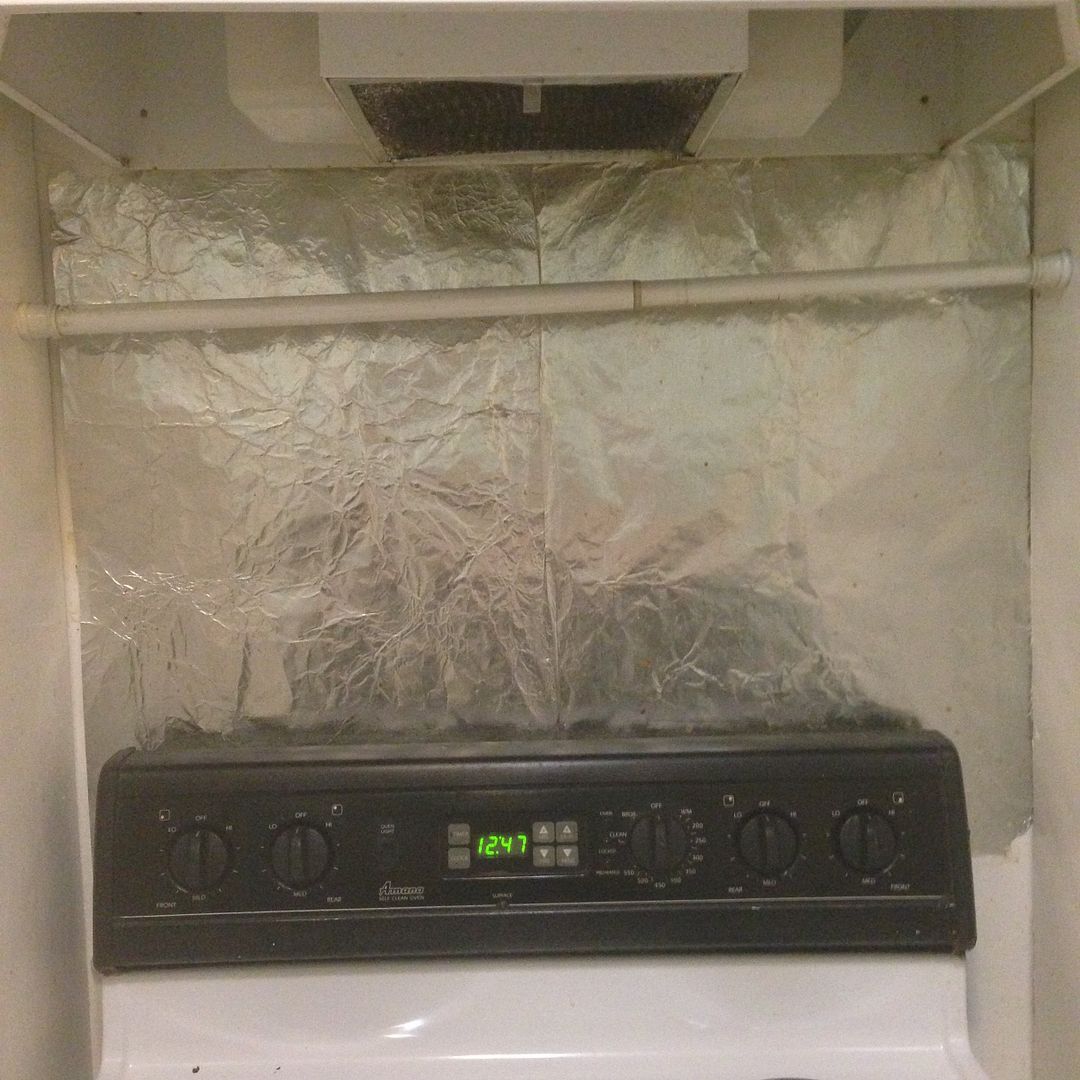
- Backsplash behind the stove-my mom pulled down their ghetto tin foil that they'd pasted up against the wall and painted instead.
- Repaint the monstrosity that is the yellow bathroom with red accents...
- Clean up their caulking mess in the said bathroom.
- Replace the faucet because it doesn't actually reach the sink properly.
- Eventually I also need to figure out why the jets in the bathtub don't work...
- Finish painting my bedroom.
- Spray for bugs-there are SO many spiders!
- Figure out how to hook up the washer and dryer properly.
- Unpack at least my clothing.
- Figure out what to do with the closet (which looks like this).
- Figure out what to do with the ugly downstairs bathroom.
- Replace the counters because they are cracked and broken.
- Paint the hallway.
- Find curtains for the living room and the bedroom.
- Try and bring my poor yard back to life.
Whew, I've got a lot of work cut out for me.
Linking up with: